
Jarvis, we love you 3000!

Would you dig a Desktop like that?
Of course you would! I cannot imagine anyone saying no to this screen!
And guess what, this is all Live. Have a look at the GIF below:
If you're thinking this would look more cooler in person, you're absolutely right, Mr. Stark! Go build your own JARVIS right now on your Linux OS.

I must credit the amazing blog which guided me to this customization. Here is the link:
NomiSpeaks' Blog on Making a JARVIS Live Wallpaper

However, since this post is 2 years old, there are some things that you will need to do additionally to make this work.

Installation of Conky Manager

First, when you try to install conky-manager by running the command:
     sudo apt-get install conky-manager
 You will get an error something like this:
     E: Unable to locate package conky-manager
So here's another way to get to this. A github repo named conky-manager2 is built for the same purpose.
Follow the steps in that repo to install conky-manager.
Now one last step. Run the following command: 
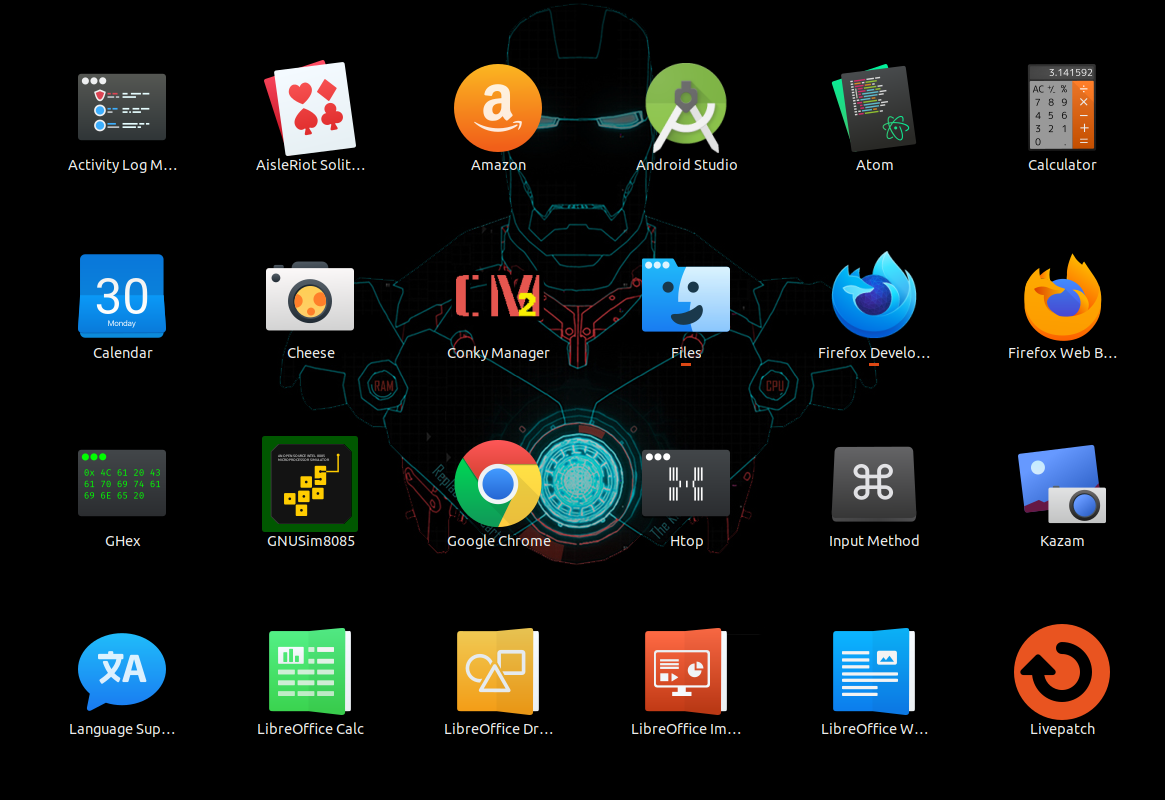
     sudo apt-get install conky-all
Alright, now go to Show Applications in the bottom-left of your Dock (assuming you haven't configured it) and find Conky Manager.

Open it, and a screen like this will open up.
Don't worry if your window doesn't look exactly like this. You must be able to see a list of conky widgets here. If you check a box, that widget will pop up in the Desktop! You can actually build your own combination of conky widgets for your Desktop.
Now you can go back to the link I mentioned earlier, and download the conkyrc zip file, the coolest conky ever.
Extract the zip file and save the folder in .conky folder as mentioned.

The Wallpaper

The Wallpaper isn't available on the site. So you can save the following image directly in your PC.

Positioning & Configuring the Conky Widgets

  • Go to the .conky folder in the Home directory (Enable "Show Hidden Files") and locate the conky widget you want to configure by the path you saw in the Conky Manager application.
  • Open the file in a Text Editor
  • Find the attribute gap_x/gap_y
  • After this, it's pretty much CSS-like experimentation from here.
  • Another configuration that you can try is changing the line: own_window_type normal to own_window_type desktop
  • The advantage in this is, when you try to go back to Desktop from another window using the keyboard shortcut <Super> (Windows Key) + D, the widgets would be visible with the wallpaper. 
  • This is particularly handy when you are monitoring RAM & CPU Usage, and need a quick switch to look at it.
  • To save battery life, change update_interval to 3/4/5 so the screen updates are less frequent. 
  • Thus, you are free to use any other wallpaper too since you can even change the colors of the widget.

Conclusion

Although this wallpaper might seem superficial, my personal experience is that it helps me dynamically understand which programs, applications or processes are taking more RAM & CPU space and helps me keep my PC in a better state.
So all the best and do let me know how your Desktop turns out!

Comments

Popular posts from this blog

Namaste JavaScript Quick Notes

Note:  Akshay Saini's Namaste JavaScript is probably the best course for JavaScript developers out there. These are my personal notes that I made while watching the course; they serve more of as an online quick reference for my understanding and revision, and I hope it benefits anyone reading it too! Everything in JS happens inside an Execution Context. Before a JS code is run, memory is allocated and variables are set as undefined   , and functions are set as their exact code in the scope within the Execution Context. The global execution context hosts all the global variables and function definitions. An Execution Context has 2 components: Memory, that stores variables and functions; and Code, that reads and executes the code. Call Stack maintains the order of execution contexts. Since JS is single threaded and asynchronous, at one point of time, only one function is executed which is at the top of the call stack. For each function, an execution context is created before executi

An introduction to APIs

API is an acronym for Application Programming Interface. Let's start with first defining some basic terms: Browser: These are browsers. To visit any website on the internet, you need a browser. Server: Hmm, this is tough. In simple words, server is a computer. Yes, just like the laptop, or PC at your home. The only difference is that it does not have a screen. Of course, there are other differences in technical specifications, but at its core, the server is just, simply, a computer. That's it. So why is it called a server? Because it serves . When you go to a website like google.com , your computer connects to the internet and gets you your search result. But your computer's internet connection has to get that result from somewhere, right? If the google search result is giving you some answers, the answers have to come from somewhere. What is that place? The answer to that some place is: a server. When you click on the search button on google, or hit enter after typing, &q

Review: Nestjs - Finally a scalable way to build APIs

I have been thinking about this for a long time. There HAS to be a defined way to build APIs in a scalable way.  If you have used Node, Express, etc in your side projects, you might have felt that after a point in development, debugging truly becomes a pain. Sure, enterprise-level API codes are great. But a lot of times, these configurations are too much, and probably not even needed in other projects. To be honest, I haven't seen a lot of Open-Source API codes either to make a judgement on how experienced developers build their APIs. Anyway, I came across an amazing framework recently, and I think if you are coding a complex API, this should be your way to go. Nest.js Nest.js is a framework for building efficient, reliable and scalable server-side applications.  You essentially break your APIs into controllers, services, and modules, which allow you to modularize the smallest of functionalities in your endpoints or the API as a whole. Why is modularizing important? As I have talk